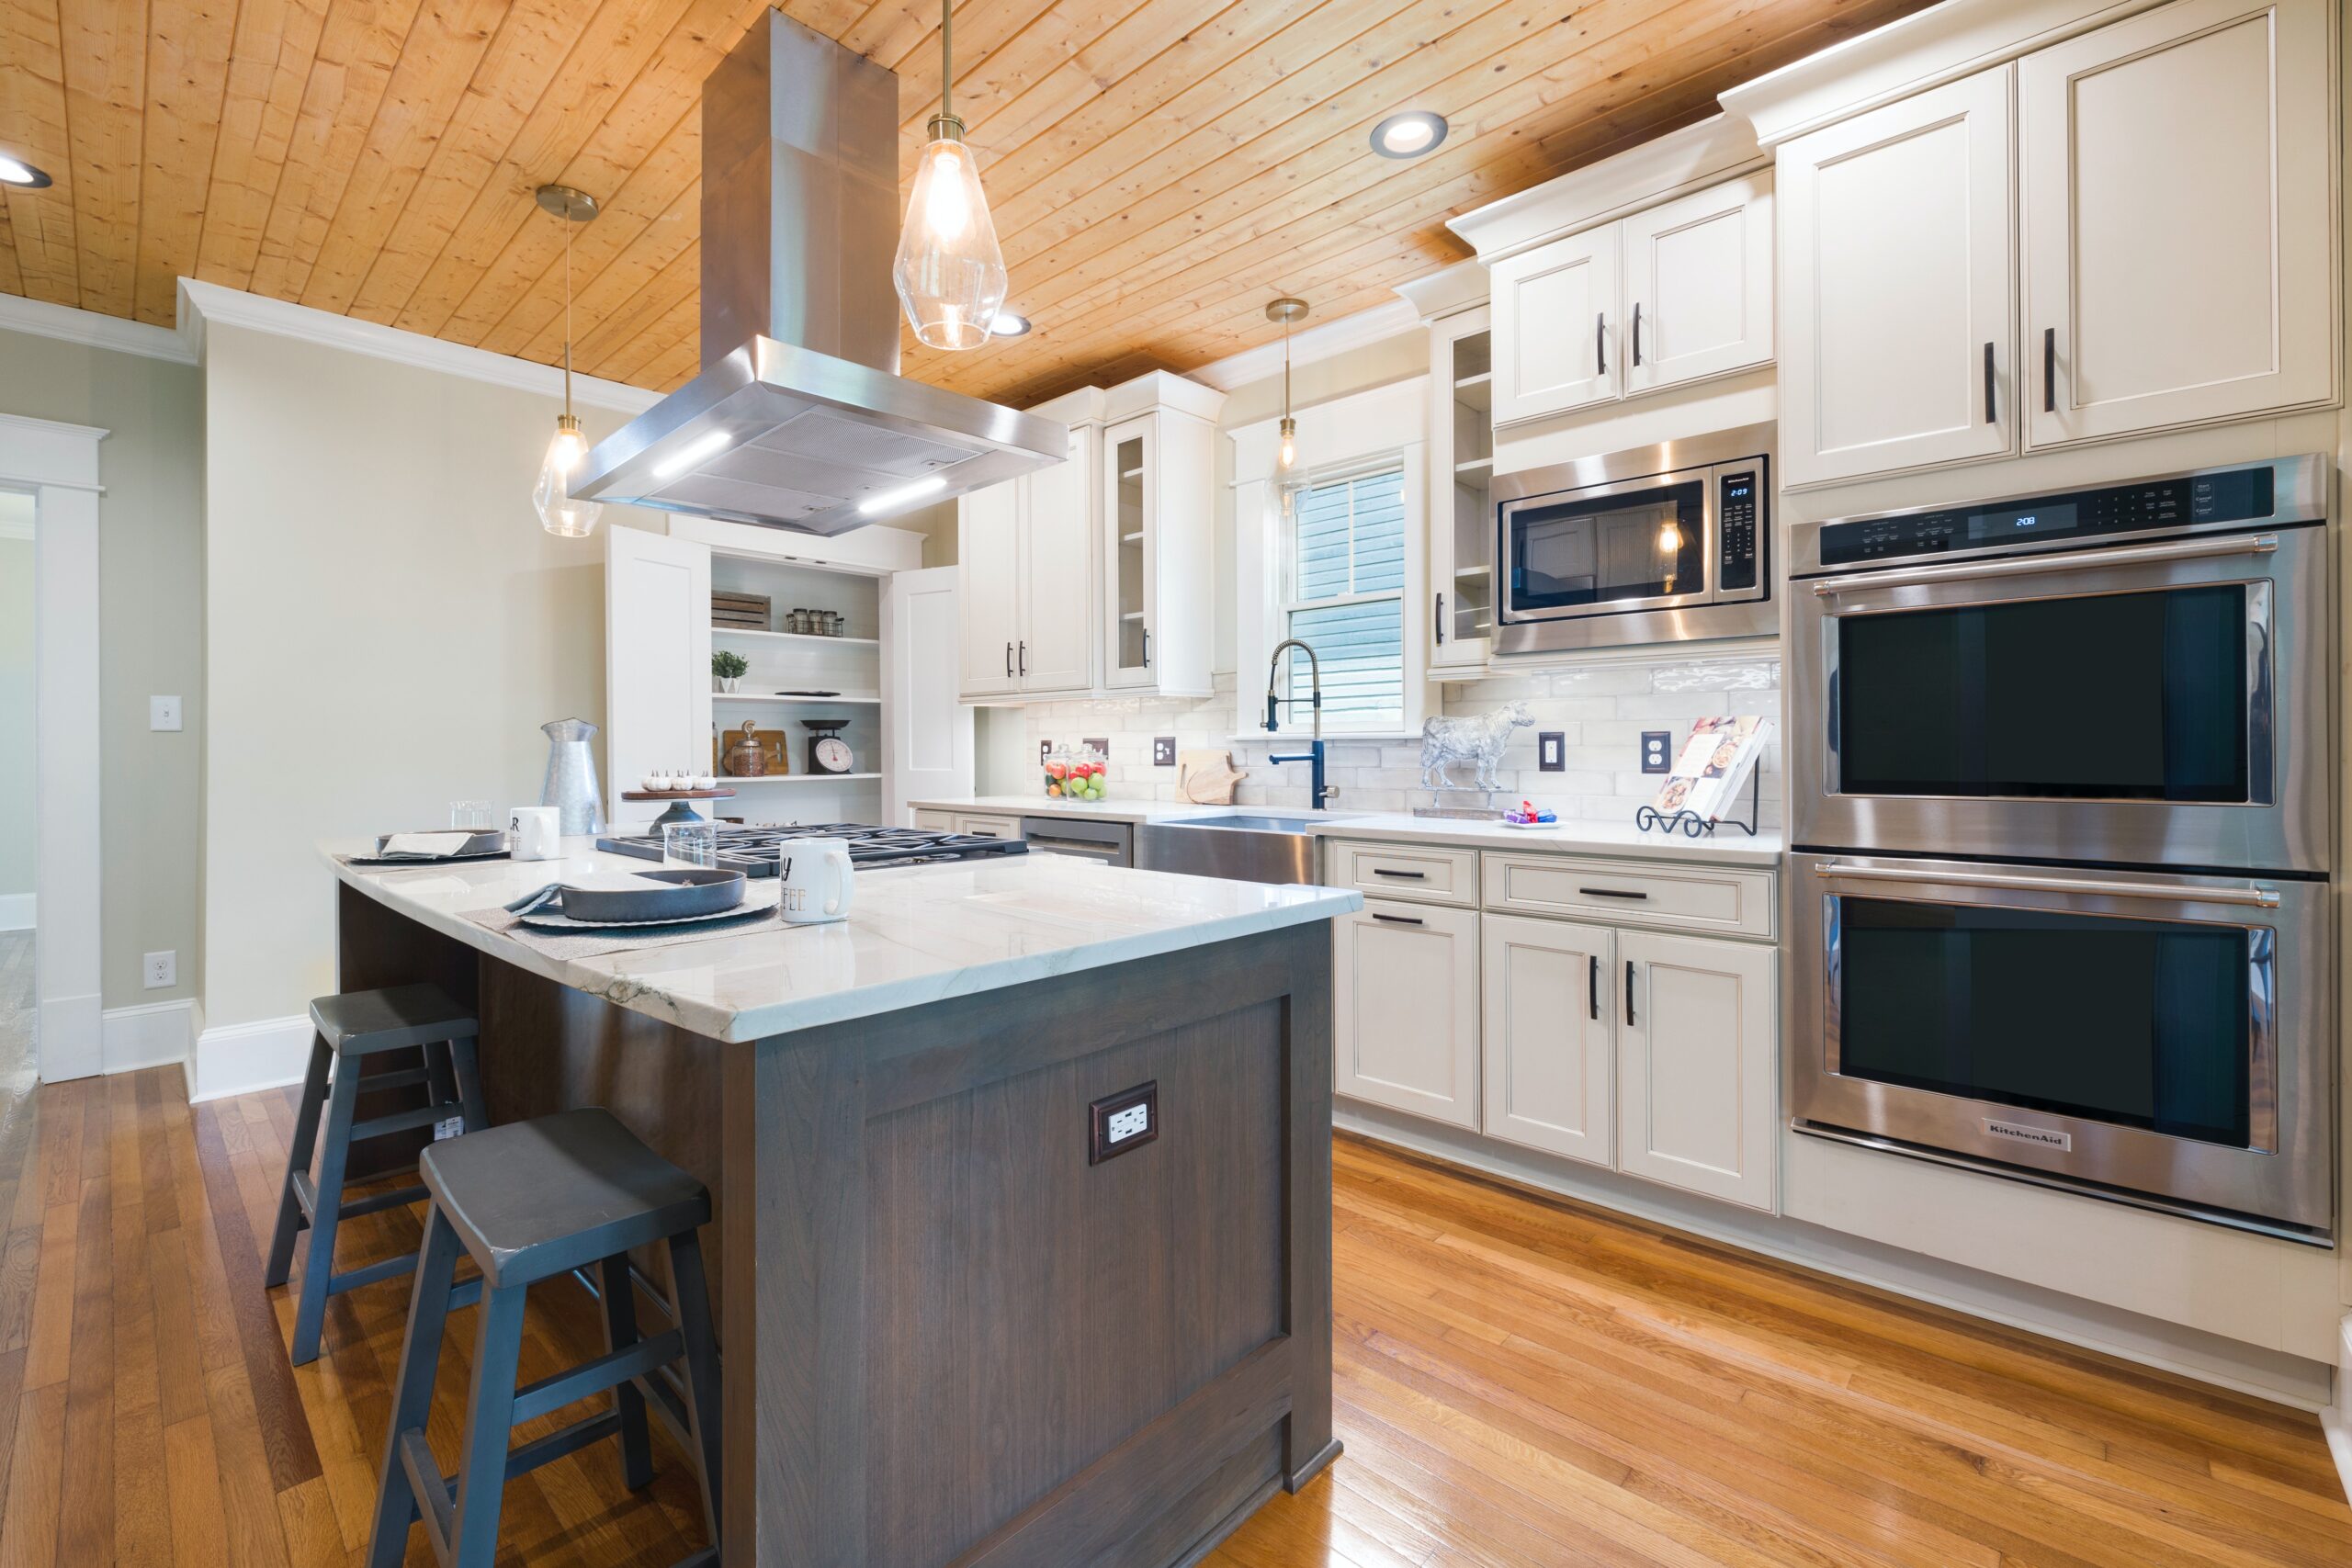
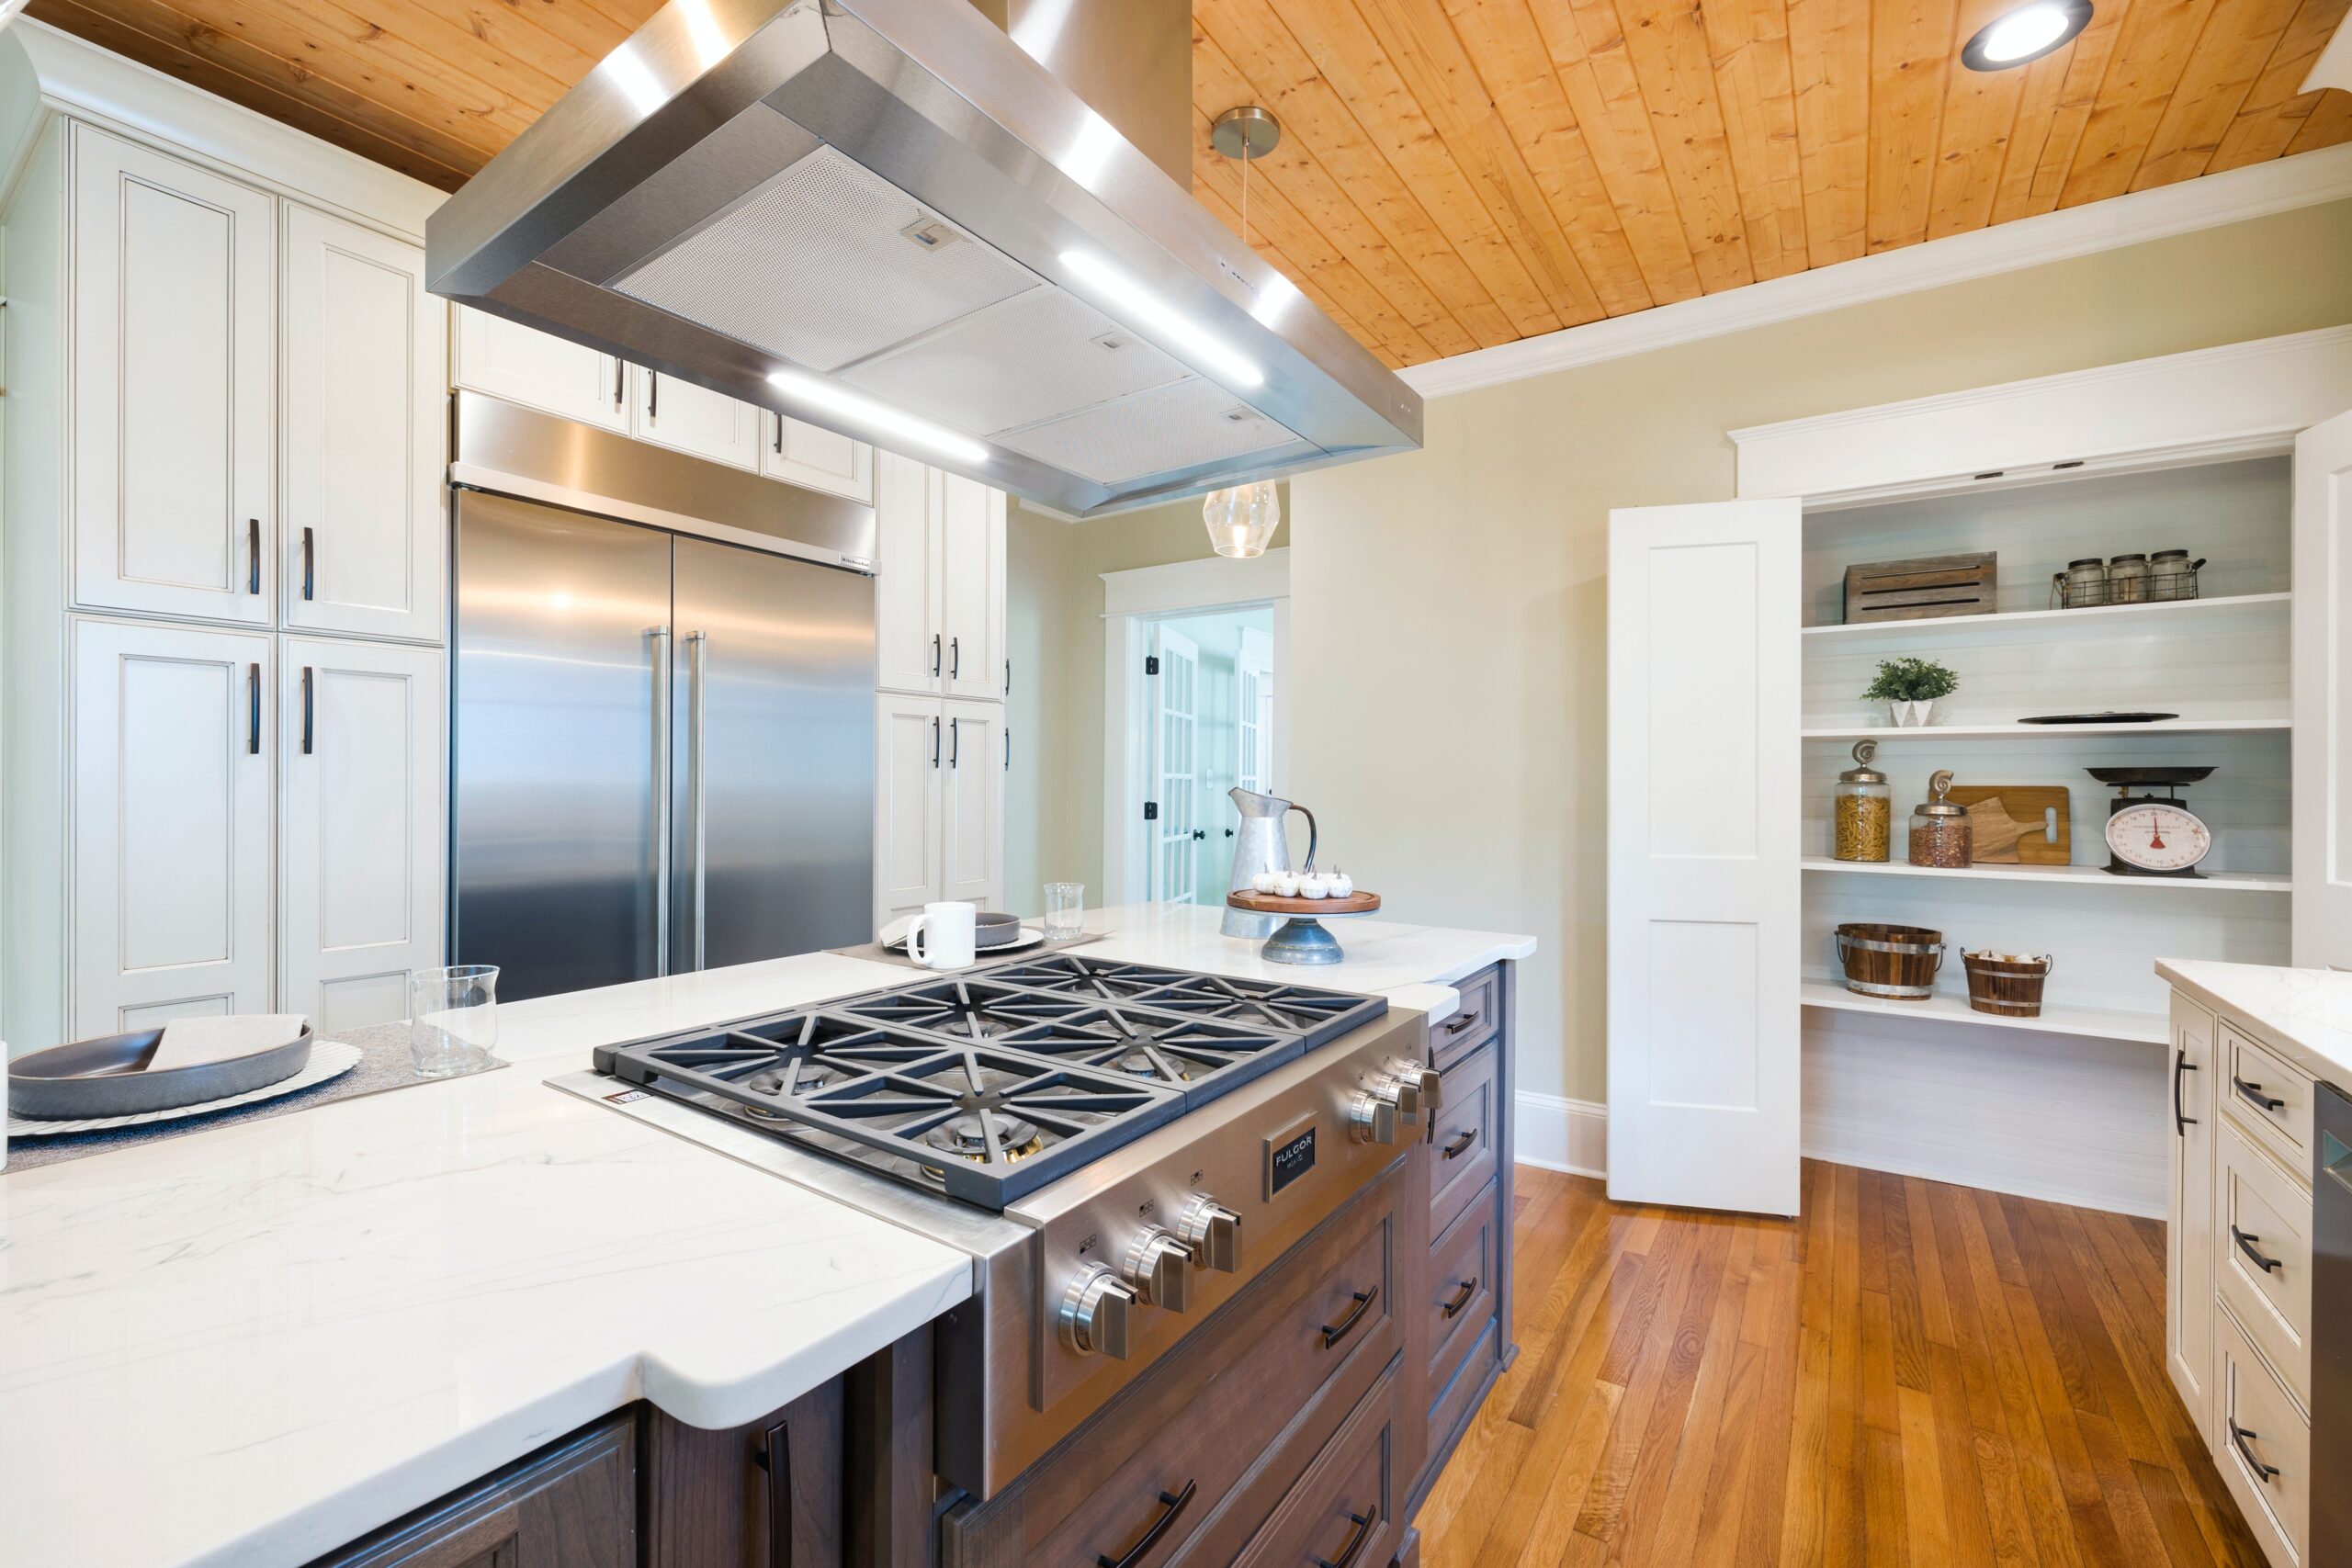
How to install a range hood vent through ceiling? Proper ventilation in the kitchen is essential for a pleasant cooking experience. One crucial component of a well-ventilated kitchen is a range hood vent.

Installing a range hood vent through the ceiling allows for the efficient removal of cooking odors, smoke, and excess heat. In this step-by-step guide, we will walk you through the process of installing a range hood vent through the ceiling, ensuring a successful installation and optimal ventilation for your kitchen.
Proper ventilation is essential for keeping a kitchen environment that is both clean and healthy. For the purpose of getting rid of smoke, smells, and excess heat from cooking, a range hood vent is essential. You may efficiently remove these waste products by putting a range hood vent through the ceiling, ensuring a clean and cozy cooking area.
By following these instructions and using the right tools, you’ll be able to install a range hood vent successfully and enjoy the benefits of improved kitchen ventilation.
Pre-installation of Range Hood Vent Routine
1. Requirements for Ventilation
It’s important to determine your kitchen’s ventilation needs before beginning the construction process. This requires taking into account elements like the size of your range and the required airflow capacity.
Consult the manufacturer’s instructions and suggestions to determine the proper ventilation requirements. You can make sure that your range hood vent eliminates cooking wastes adequately by being aware of these requirements.
2. Selecting the Right Location
The efficacy of your range hood vent depends on where you place it. To effectively trap smoke and smells, it should be placed precisely over your cooktop or range.
To begin, find the ceiling joists in the appropriate location using a stud finder. Mark the location of the range hood vent after it has been found.
3. Preparing for the Ceiling
Before starting the installation, it’s essential to prepare the ceiling properly. Begin by turning off the power supply to the kitchen to ensure safety.
Next, remove any existing obstructions or light fixtures in the installation area. If you encounter electrical wiring that needs to be rerouted, it’s recommended to seek assistance from a professional electrician.
4. Decide the Dimension of the Vent
With the ceiling prepared, it’s time to cut the hole for the range hood vent. Using a tape measure, carefully mark the dimensions of the vent opening on the ceiling.
Double-check the measurements to ensure accuracy. Once marked, use a drywall saw to cut along the lines. Take care not to damage any electrical wiring or structural components during this process.
How to Install a Range Hood Vent Through Ceiling Install

1. Cutting the Hole
To begin the installation process, start by marking a circle on your ceiling to indicate where you will cut out the drywall.
Using the ceiling mounting bracket can be helpful in tracing the circle. The circular hole in the bracket should be slightly larger than the actual size of the duct.
Before making the cutout, it’s important to use a stud finder to ensure that there are no studs in the area where you plan to make the cutout.
2. Make the Cut
Proceed with making the cutout in the ceiling using either a drywall saw or a handheld jig saw. Take caution to avoid damaging any electrical wiring or other concealed utilities while cutting. Safety should be a priority throughout this step.
3. Make Additional Support for the Ceiling
For certain island range hoods, additional support may be required at the joists or studs. To provide this support, create a wooden brace and securely attach it to the top of the studs or joists. This will ensure the stability and proper installation of the range hood.
4. Put the Ceiling Mounting Bracket in place
Once you have installed the wooden ceiling support (if necessary), proceed to attach the metal ceiling bracket. Utilize the screws that are provided with your range hood.
Securely fasten the screws by passing them through the ceiling bracket and into the wooden ceiling support. This ensures a stable and secure connection between the bracket and the support structure.
5. Install the Vent Duct
Next, proceed with the installation of the flexible vent duct, which typically comes in either 6-inch or 8-inch diameter options, depending on the specifications of your range hood.
Connect the vent duct to the exterior vent hose using either aluminum tape or strapping. This ensures a secure and proper connection between the duct and the ventilation system.
6. Install the Upper Support Frame Brackets
Before moving on to installing the exterior frame of the vent hood, you’ll need to attach the four upper support frame brackets to the ceiling mounting bracket. Utilize the provided screws to securely fasten the brackets.
This step ensures stability and proper alignment for the subsequent installation of the vent hood’s exterior frame.
7. Join the Lower Support Frame Brackets
To ensure the proper length of the support frame brackets, measure the distance between the top of your stove (cooktop) and the bottom of the range hood. This measurement will help determine the correct length for the lower support frame brackets.
Once you have determined the correct length, connect the lower support frame brackets to the upper support frame brackets using the screws provided. Make sure to secure the brackets firmly at the appropriate length.
8. Join the Range Hood to the Lower Support Brackets
For this step, it is recommended to have two people involved. Begin by aligning the holes in the range hood with the corresponding openings in the bottom of the lower support brackets.
Once aligned, insert the provided screws through the brackets and into the range hood. Ensure that the screws are fastened securely, providing stability and proper attachment for the range hood.
9. Thread the Power Cord Through the Ceiling
In this step, carefully pull the power cord through the cutout in the ceiling and route it to an outlet in the attic. If there is an attic space available, this method allows for easy connection to an existing outlet.
However, if there is no attic space above, you will need to hardwire the range hood by connecting it directly to a junction box. It is advisable to seek the assistance of a qualified electrician for this task, as they have the expertise to ensure a safe and proper hardwiring installation.
10. Secure the Inner Duct Cover
The range hood’s square metal vent cover, consisting of an inner and outer duct cover, requires proper installation. The outer duct cover overlaps the inner duct cover.
To begin, detach the two screws connecting the inner and outer duct covers. Separate them by undoing the tongue and groove clip.
Once separated, slide the inner duct covers over the ceiling mount. Ensure that the tongue and groove clips are aligned properly. Additionally, make sure that the inner duct cover halves align with the clips on the ceiling mounting bracket.
With the inner duct cover in place over the ceiling mounting bracket, utilize the provided screws to connect the two pieces securely.
11. Attach the Flexible Vent Hose to the Range Hood
Before proceeding to fasten the outer duct cover, it’s necessary to connect the bottom of the flexible vent hose to the range hood.
Use aluminum tape to securely attach the flexible hose to the round vent flap located at the top of the range hood. Alternatively, you can utilize a clamp to fasten the flexible vent hose tightly in place.
12. Install the Outer Duct Cover
Before proceeding with the installation of the outer duct cover (chimney), begin by unfastening the screws that connect the two halves of the cover. Then, carefully separate the halves by undoing the tongue and groove clips (slide them up).
With the halves of the outer duct cover now disconnected, position them onto the support frame brackets. The outer duct cover should be placed over the inner duct cover.
Next, reattach the screw that connects the two halves, ensuring a secure connection. Also, ensure that the tongue and groove clips are properly realigned. The bottom of the outer duct cover should fit into the grooved slot at the top of the range hood.
13. Secure the Outer Duct Cover
Finally, To secure the outer duct cover, begin by removing the range hood filter. From the bottom of the range hood, use the provided screws to fasten and secure the bottom of the outer duct cover in place.
Ensure that the screws are tightly screwed into the designated holes of the outer duct cover, ensuring a secure attachment.
Post Installation Routine
After completing the installation, it’s time to test the range hood vent and make any necessary adjustments. Turn on the power supply to the kitchen and activate the range hood vent.
Check for proper airflow and ensure that the vent is effectively removing smoke and odors from the cooking area. If needed, adjust the ductwork or range hood settings to optimize performance.
2. Safety Considerations
Throughout the installation process, it’s essential to prioritize safety. Wear safety goggles and work gloves to protect yourself from potential hazards.
Adhere to electrical safety guidelines, and if you have any doubts or concerns, consult a professional for assistance. Safety should always be a top priority when working with electrical components.
3. Maintenance Tips
To ensure the longevity and efficiency of your range hood vent, regular maintenance is necessary. Clean the filters regularly to prevent grease buildup, which can hinder airflow. Inspect the ductwork periodically for any obstructions or damage. It’s essential to follow the manufacturer’s instructions for specific maintenance guidelines to keep your range hood vent in optimal condition.
By following this step-by-step guide, you can successfully install a range hood vent and enjoy the benefits of improved ventilation.
From assessing ventilation requirements to testing and maintenance, each step plays a vital role in creating a comfortable and odor-free cooking environment.
With a properly installed range hood vent, you can say goodbye to lingering cooking odors and excessive heat in your kitchen. Enjoy a fresh and pleasant cooking experience!
