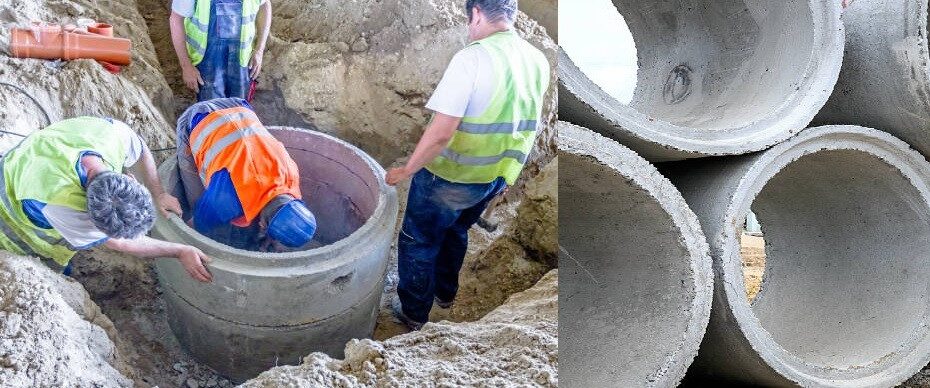
How To Make Channel Chamber For Toilet

When it comes to building projects, serious considerations usually occur in regard to the issue of sucker pits and the general aspects of waste and water management.
A sucker pit is a large and deep hole made on the ground around the building and cemented or plastered with layers of blocks for the purpose of gathering water and waste like the sewage and wastewater from the washing basin in the kitchen.
Besides gathering the sewage from the toilet, and wastewater from the kitchen, the sucker pit can also be connected with water coming from the bathroom and the entire building. The design and types of sucker pits that exist had been treated previously.
The current post shall be dealing with how to make a chamber for a sucker pit. A chamber is a kind of gathering unit from bathroom and toilet channels helping the waste and water mixture to properly move into the sucker pit.
It is a crucial aspect of the channeling system used where there are redirections of flow. In other words, there may not be any need for a chamber if the flow of waste moves directly to the sucker pit without any corner.
Another limitation is that the chamber could be replaced with elbow PVC pipes. However, the use of elbow channels is not usually encouraged due to the possibility of blocking anytime.
If the elbow blocks, there wouldn’t be any other option than to break it up and replace it with a new one. Meanwhile, in the case of a chamber, the top covering will be removed while a stick can be used to force the object blocking the waste out from the channel.
Chamber has become a normal way of channeling waste in cornered directions. It helps to ensure proper redirection and easily stops any object that could block the pipes from entering the next pipe or pipes attached to it.
In other to make a sample chamber for the sucker pit, the builder can use about three cement blocks to set it up.
Steps on How To Make Channel Chamber For Toilet

For designs that require space about six cement blocks can be used. Here are the procedures for it:
- Arrange the blocks in a rectangular space on the ground surface, having obtained the measurements of the space the chamber could take.
- The standard arrangement for a small chamber is one cement block on either side and one will be divided into two and will be used to fill up the gaps that exist between the two blocks.
- Make a mortar with a good volume of cement for the making of a floor of the chamber, cementing its interlocks, and possibly plaster the inner walls of the blocks to avoid weakening from constant contact with water.
- Allow the whole arrangement to solidify for about six hours.
- Based on the measurement you took earlier, crack the necessary locations on the sides of the chamber and insert the PVC pipes into each hole and use another mortar to fill up the holes or gaps that may exist between the chamber and the PVC pipes.
- The next step is to make a top cover for the chamber. To do that, form a cast concrete with crossed rods or simply use a flat surface material to cover the top of the chamber and then pour concrete on the top.
- Ensure that no opening exists on or around the chamber otherwise it could lead to environmental pollution.
Note that, the chamber has the disadvantage of causing the smell or irritating environmental pollution due to drips of sewage and other wasteful water that could be coming out from it when built in an improper way or done by a novice.
The keyword is to ensure no leakage by using quality blocks and cement concentrated mortar.
